
How Washing Machines Drain: Proper Plumbing and Drain Hose Setup

Introduction
Understanding how a washing machine drains requires looking at both the mechanical cycle and the domestic plumbing requirements. The machine does not simply “drain” in a single action; it cycles water through three stages: filling, agitation/washing, and expulsion. The primary function of the drain system is to manage wastewater efficiently, routing it from the unit’s outflow pipe to the household’s drainage infrastructure. A proper setup involves more than just connecting a hose—it demands adherence to specific height, angle, and safety standards to prevent overflow, backflow, and mechanical strain.
The Drainage Process: From Wash Tank to Outflow Pipe
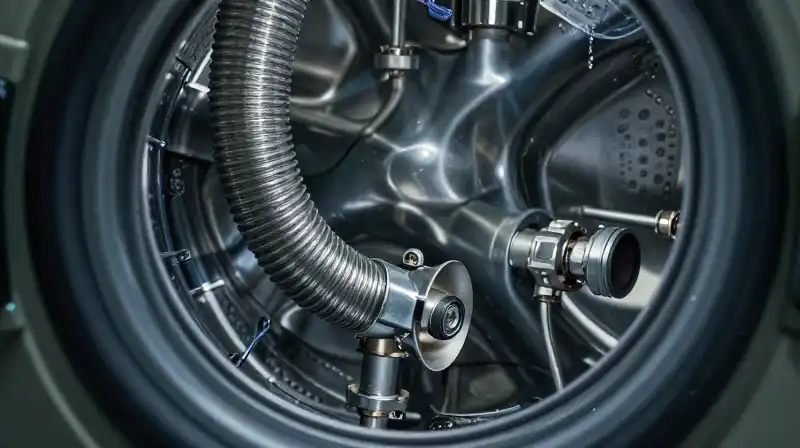
The washing machine’s drainage mechanism relies on specialized internal components to expel used water. During a cycle, after detergent has agitated the laundry and filled the wash tank, the machine utilizes dedicated valves to manage the release of dirty water. This wastewater leaves the drum via an outflow pipe, which is designed to channel the water through the machine’s rear plumbing connections. Because modern washing machines, particularly high-efficiency (HE) front-loaders, lack a traditional mechanical pump system found in older units, gravity and pressure-assisted valves play a key role in the expulsion process. For top-loaders, the draining action is often driven by a pump that forcibly pushes the water out through the attached drain hose. Regardless of the model, the physical connection point for wastewater is located at the back of the appliance, typically near the input lines for hot and cold water.
Identifying and Securing the Drain Connection Points
A critical distinction exists between the water supply input (where water enters the machine) and the drainage output (where water exits).
Locating the Output
The drainage port on the washing machine itself is the dedicated outlet for used water. This connection point must be clear of any debris or obstructions to ensure smooth water removal. The user’s primary responsibility is securing the drain hose to this designated port, usually located at the back panel.
Plumbing the Destination
The destination for this wastewater varies based on the installation environment.
- Standpipe: A dedicated vertical pipe, often located in the utility area. This is the most common and ideal location for efficient draining.
- External Plumbing Outlet: Some configurations allow the drain hose to connect directly to a household drain or recessed plumbing point.
- Sewer or Septic Tank: Once the wastewater leaves the washing machine, it is integrated into the home’s main drainage plumbing, eventually exiting to the municipal sewer system or a septic tank.
Note that wastewater from a cleaning cycle is non-potable and must be safely diverted through the wastewater system.
Optimizing Drain Hose Installation for Maximum Efficiency
The placement and configuration of the drain hose are paramount to successful operation. Improper setup can lead to “drain failure” errors or, worse, catastrophic overflows.
Critical Installation Requirements
To ensure water flows consistently and efficiently, follow these steps:
- Unplug and Secure the Area: Before any installation, ensure the washing machine is unplugged and the surrounding floor is stable to prevent shifting during operation.
- Secure Hose Fit: Connect the drain hose firmly to the washer’s designated outlet and the chosen plumbing location (standpipe or outlet).
- Maintain the Correct Loop Height: Most washing machines require the hose to maintain a specific vertical loop or “high loop” configuration. This design, often referred to as an inverted ‘U’, ensures that the internal pump or the gravitational pull of the water has a reliable path out of the machine.
- Ensure Downward Angle: Verify that the hose is angled downward toward the drain connection to prevent water pooling or stagnation inside the hose.
Avoiding Installation Errors
The primary causes of drain issues are mechanical or geometric.
| Problem | Likely Cause | Resolution |
|---|---|---|
| Delayed or Failed Drain | Kinked, kink-prone, or compressed hose. | Unfold the hose immediately; ensure it has adequate slack and movement. |
| Slow Drainage | Hose not positioned correctly in the “high loop” configuration. | Adjust the hose height relative to the washer body. |
| Backflow/Odors | Hose too low or lack of proper drainage trap. | Raise the hose height until the drain cycle completes efficiently. |
Understanding the Water Cycle: Input vs. Output Plumbing
To fully grasp the drain function, it helps to understand the entire water flow path of the machine. The input lines that supply the washing machine with water are typically connected to the main hot and cold water fixtures (faucets) of the house. These lines are part of the general household water grid. In contrast, the drainage system is entirely separate; it is a wastewater pathway designed to move used water into the sewer, ensuring that the wastewater is routed to the main drainage pipe and not back into the home’s potable water system. The entire cycle is managed by a system of dedicated valves: the valves regulate the introduction of incoming water, while the specialized valves manage the expulsion of dirty water via the drain hose.
Troubleshooting Common Drain Issues
If the washing machine is exhibiting problems, such as not draining completely or displaying a drainage error code, a systematic inspection is required:
- Check Connections: Ensure the drain hose is not loose or detached at both the machine’s outlet and the utility drain.
- Inspect for Kinks: Thoroughly check the entire length of the hose for any hidden bends or compressions that could impede flow.
- Verify Loop Height: Confirm the hose maintains the required vertical lift (the high loop) mandated by the washing machine’s model.
- Examine Clogs: If the machine is older or in heavy use, the drain pipe or the hose itself may be clogged with lint or debris. Access points should be checked for blockages.
Final Review and Practical Warnings
Effective and reliable washing machine operation depends on the proper execution of the drainage setup. Ensure that your drain hose length is sufficient to reach the drainage location without excessive strain, which could pull the unit out of level. Never run a washing machine with an insufficient or improperly configured drain hose, as this is the most direct path to a leakage or flood event. Always test the installation by running a short, empty cycle and monitoring both the water expulsion and the connections for any signs of dripping or pressure. Regular inspection of the hose and connection points is the best way to prevent overflow issues and maintain the efficiency of your appliance.
How to optimize washing machine drain hose installation
Unplug and Secure the Area
Before any installation, ensure the washing machine is unplugged and the surrounding floor is stable to prevent shifting during operation.
Secure Hose Fit
Connect the drain hose firmly to the washer's designated outlet and the chosen plumbing location (standpipe or external outlet).
Maintain the Correct Loop Height
Most washing machines require the hose to maintain a specific vertical loop or "high loop" configuration, often referred to as an inverted 'U' to ensure proper water drainage.
Ensure Downward Angle
Verify that the hose is angled downward toward the drain connection to prevent water pooling or stagnation inside the hose.
Test the Installation
Run a short, empty cycle to monitor both the water expulsion and the connections for any signs of dripping or pressure.
Related Articles